Bottom paste machine installation and debugging steps
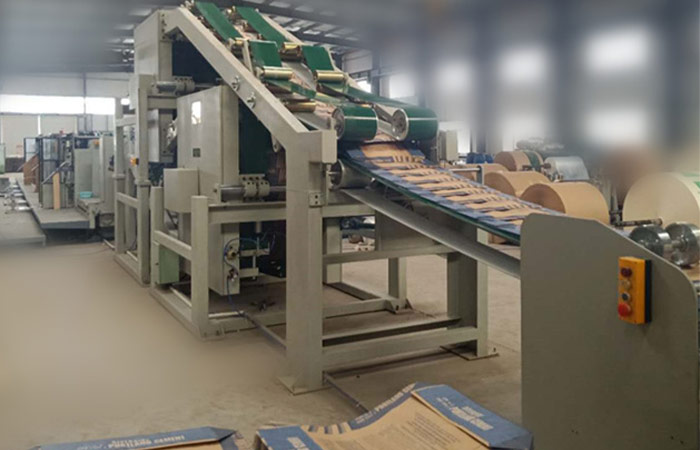
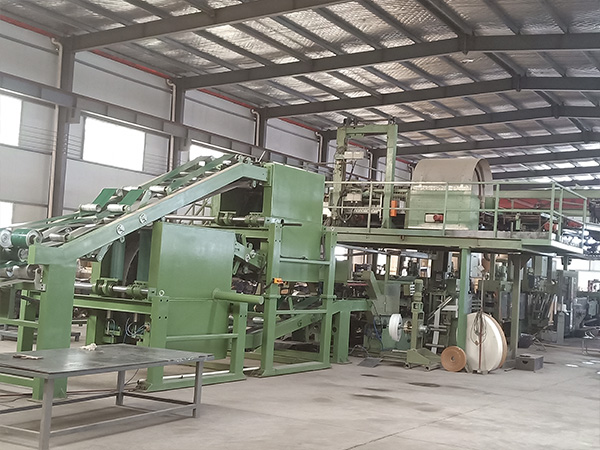
Bottom paste machine is a device used to produce valve pockets. It is usually used together with drum making machine. Bottom paste machine is mainly designed and manufactured by photoelectric, electromechanical and pneumatic integration technology. The working process is mainly controlled by photoelectric PLC automatic control system program. Finish.
The bottom gluing machine is mainly responsible for unwinding and overprinting the bag body of the valve pocket, and the bottom gluing machine is responsible for the sealing of the valve pocket. Glue, turn over the bottom of the bag and other processes to jointly produce the valve bag. The bottom paste machine can realize automatic feeding, gluing, transportation and other processes, instead of manual operation, which greatly improves the production efficiency. At the same time, it can be more convenient and save some raw materials.
Because the bottom paste machine is completed by PLC photoelectric program automatic control system, its feeding speed will not be limited by the structure, and it will change with the speed up and down of the frequency modulation motor.

The installation and debugging steps of the bottom paste machine are summarized as follows:
1. Before installing the bottom gluing machine, you should carefully check the work order and samples, determine the glue used for the gluing box, and prepare it;
2. Adjust the width of the bottom baffle to be pasted, the two sides should be parallel, and just put down the semi-finished color box to be produced, the distance between the two side baffles is less than 1mm from the color box, and then adjust the limit bolts to ensure that each product to be pasted passes smoothly. and no fetters appear;
3. Adjust the slope and height of the bracket in the bottom area to be pasted to ensure that the pasted products can pass smoothly without other obstacles. After pressing, adjust the auxiliary guide rail and flow wheel to make the size suitable for the specifications of the color box to be pasted;
4. Adjust the bottom paste belt and bottom paste guide rail, and then adjust the bottom paste main machine and the wheel closing pressure to cooperate with the cross of the belt;
5. Adjust the glue tank and check whether the glue in the glue tank is sufficient. The amount of glue should be immersed in 80% of the rubber wheel, and then adjust the glue tank and the glue position;
6. Turn on the power switch, the main motor switch and the vibration switch key. After the machine is adjusted, press the “run” or “inch” key, press the “feed” key to debug the machine, and check whether the machine performance is abnormal, and there is a skew phenomenon. correct it immediately.

7. After the debugging is ok, test 5-10 pieces of the machine first, confirm the position and forming specifications, and then adjust the speed of the machine;
8. When pasting the bottom of the color box, pay attention to the state of the paper at the bottom of the pasting, not over-line, off-line or misplaced, so as not to affect the appearance and forming effect of the color box;
9. First confirm: Strictly follow the first-piece signature method;
10. After the production task of the bottom paste machine is completed, the machine should be cleaned in time to keep the machine clean.
The above is the relevant introduction of the installation and debugging steps of the bottom paste machine. If you need to know more about the bottom paste machine, you are welcome to log in to our official website to browse, or you can inquire.


